 I found a free diaper bag tutorial online and http://www.MakeBabyThings.com. When I first saw it, I decided not to make it. I wasn't crazy about the bag in the photo. But then a member of Sewing Mamas made a couple of them and shared pictures on SM. I love them! So back I went to give this one a go.
The fabrics. The top is a home dec. fabric, but I'm using in place of canvas for this project. The bottom is a woven.

Interfacing... which I only ended up using in a couple of places.

Cutting pattern pieces.


It's the next day, and I had a kind of a "well, duh!" moment. I removed the snap, sewed the point, and put the snap back on. Sometimes the simplest solutions are hard to find at first!

So the straps and snap flap are sewn on. If only I had noticed at this point that the strap here is not on properly!!!!! ARGH! I did NOT notice, and completely finished the bag before spotting it. I SUCK! But moving on...


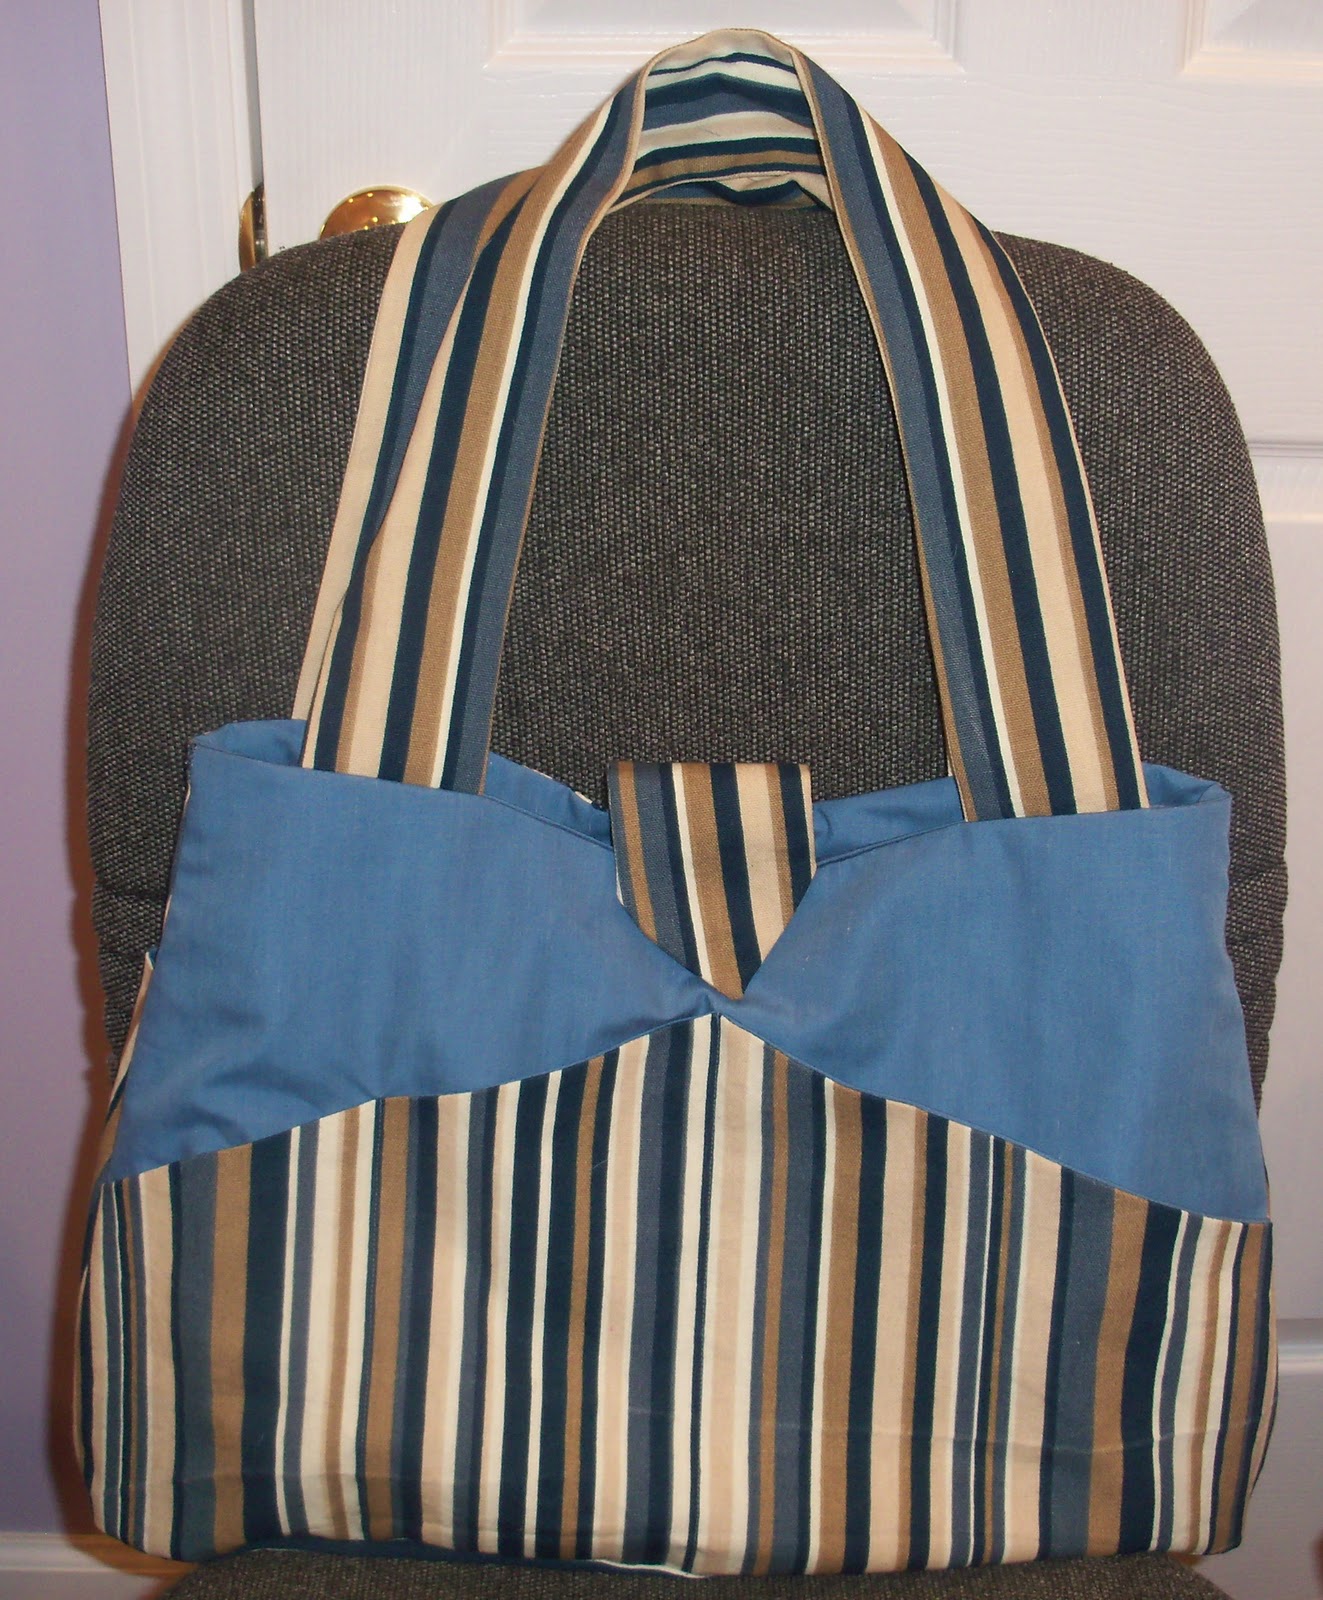


But overall, I'm happy. It's a cool bag, and I know the recipient isn't going to refuse it because it's not absolutely perfect! But maybe I can make it LOOK absolutely perfect.... I think I have an issue.....
Ok, it's the next morning. Last night, with much encouragement from DH, I had decided to make another bag for my sis. But it bugged me all night and all morning. Why can't I get things right the first time? Over the course of the morning, I wondered if I could fix the one I made. Then it dawned on me. I made the thing. I can UNmake the thing, and REmake it, correctly! Of course I can! So I picked a few inches of stitching out of the lining, and pulled the entire bag through so all of the "guts" were on the outside. Through that hole I determined which strap was on wrong, and located the spot where it was sewn on. I picked all of those stitches out (three lines of stitching! But only about 2" worth) and flipped the strap and pinned it on. I then located the area on the other side that had the edge of the fabric poking through, and marked that with pins. About one minute of sewing tonight should have those problems taken care of. I am feeling very good about that. I hope the good feelings are not premature. As I've mentioned, I make frequent mistakes, and I will SCREAM if the strap is on incorrectly again. But I am hopeful. =)
Update: I fixed everything and NOW it's ready to be gifted!
No comments:
Post a Comment