Wednesday, December 28, 2011

Pigs and Piglets - A Fabric By Fabric One Yard Wonders Project (in progress)

For Christmas this year I received the Fabric By Fabric One Yard Wonders book. Here is my first project from this fun-looking book.

I am going to attempt to make two mama pigs, and 12 piglets. (One set for each child)

Here are the some of the supplies. Interfacing to trace the pattern pieces. Pink fleece. Felt, velcro dots, pink zippers, pink thread, polyester fiber fill and black embroidery fleece. Add to that pink yarn, cotton fabric and elastic, which aren't pictured, and we've got everything we need.


Tracing and cutting...

I have sat down twice now to cut out pieces, and I'm not done yet. With 2 mama pigs and 12 piglets to create, there are many, many pieces involved! The piglets take 5 body pieces each...


96 piglet foot pieces. 12 piglets, 4 feet each, two pieces per foot. The instructions say to sew these together. I know without trying that my sewing machine will not want to stitch these little things. So I will have to sew them all on tear-away fabric. I will be working on them for a l.o.n.g time.


I knew without trying that my sewing machine would eat these little parts for lunch, so I am stitching them all on tear-away fabric. Can you say ugh? All the piglet ears are stitched, on to the piglet feet. All 48 of them. A little every day... 

Tuesday, November 22, 2011

Bag of Balls


 This is from an Oliver + S pattern from a book I own and like a lot. The patterns are easy to follow, the book has good pictures, and the projects are fun to make.

This is a bag of balls! I am meeting my nephew (5 months old) for the first time later this week, and this is for him. =) The casing and the base of the bag are velveteen.


I enjoyed picking out fabrics for the balls. I didn't coordinate them as some might, but thought a variety of different styles, colors, fabric types and sounds might be more fun. I used wovens, velveteen, fleece and ribbons for the outsides, and two of the balls have bells on the inside.


The ties on the top are twill tape. It's a little bit tough to pull the top open with the twill working against velvet - if you make one, wovens might be a better choice.

 I hope he loves it. =)


This one has the ribbons....

Thursday, October 13, 2011

Cheetah Halloween Costume

I have to turn my 3-year-old into a cheetah by Halloween. Agh! The problem is that time is marching right along, and I haven't made too much progress yet. And my time is limited. I can do this! After some searching, I found what I think is the perfect fabric.
Gorgeous, right? I forget what it is... faux fur, suede cloth? No, I dunno. Anyhow, it's perfect. So far. And I have this cool sewing book just for making Halloween costumes. Cool! But what does it say for this type of costume? Find your favorite one-piece pj pattern. Hm. Ok, except the book that I have with such things is playing hide-and-seek with me! Shoot!! So now I have to find the time to go buy another one, for who knows how much, that I'll likely use once. Frustrating. However, I said I would do this, and I will. (When I told darling son that I planned to make cheetah pants and a cheetah top, he clearly stated that this would not due, that it has to be a SUIT. Sighs...)

So here is the pattern I chose, thank-you Wal-mart.


My daughter begged me to let her trace for me. She's really good at it! Had I known....


 Putting the zipper in. One area I was a little nervous about. No need, it wasn't hard. Though to get it flush with the collar, I had to leave a gap below the bottom of the zipper...
 So I just made a little square of fabric and stitched it just below the bottom of the zipper. Just to firm that area up a bit.
Finished up the suit with bootie-style pj feet (also a part I was anxious about, but it was not hard) and a simple cuff on the arms. I created a tail and stuffed it with polyester fiberfil. I picked out a few stitches from the back seam of the suit, placed the tail so it would angle down a bit, and stitched it in securely. Done! I was so happy to finish this part, with plenty of time to spare. Now for the cheetah head.


For this I followed a pattern I found in an Oliver + S sewing book I bought recently. I love how they do patterns! Instead of having to copy all sorts of dots and lines onto the fabric pieces, which I tend to forget to do, these patterns put snips right into the fabric pieces as you go along. So much easier! This went together really easily. For the outside of the "hood" I used the same fabric as for the suit. For the lining and inside of the ears. I used a velveteen fabric. So soft and comfy! The pattern had suggested that new sewists steer away from using velveteen. I am not new at this and wasn't afraid, but for any new sewists reading this, I had no problem with it at all. Some fabrics can be slippery and difficult to work with, but this was not.


It fits perfectly, and he loves it! Success! =)


Thursday, September 29, 2011

Child's Apron

I have been looking for sewing projects that are not too time consuming or difficult, to make items for my shop. I found this sewing pattern listed free on the internet. It's wonderful! It was created by Meg McElwee of Montessori By Hand. I do not know yet how she feels about folks selling stuff they've made from her patterns, so please be sure to ask if you plan to do so. I have an email in to her, and I'm awaiting her reply. In the meantime, I created one apron just to try the pattern and see how it came out.

 Being Montessori-based, it is designed to help children to be independent. It is easy to slip over the head, and the waist-strap goes around the child's back, and easily velcros to the front. Simple!

The apron is lined (you can use the same fabric or another) and the neck loop has elastic in is. I love how the elastic makes the neck loop frilly!
The apron is designed to fit 3-6-year-olds. My model is 7, and it obviously fits just fine. I also had a 3-year-old try it on, and it was fine. Versatile!

The apron went together very quickly. I was lucky enough to have all of the materials on hand, and I put this together in under 2 hours. I tend to get distracted while sewing, so it could done even more quickly than I did it. Easy breezy.

Oh, and it's easy-care. It's woven fabric, elastic, thread and velcro. All washable. =)

I am looking forward to checking out Meg's other patterns!


Another one. =)

Friday, September 23, 2011

 I found this pattern recently and fell in love. These are infant knot hats. They are simple to make, and are so cute. I decided to stock the shop with a couple of them..... which turned into 9 of them in two days. =) Now to send some to the babies that I know.

Model credits go to Bitty Baby and her big sister.

My favorite is the rose pattern. What's yours?


Monday, August 22, 2011

Braided Rug - Scrap Rug TUTORIAL

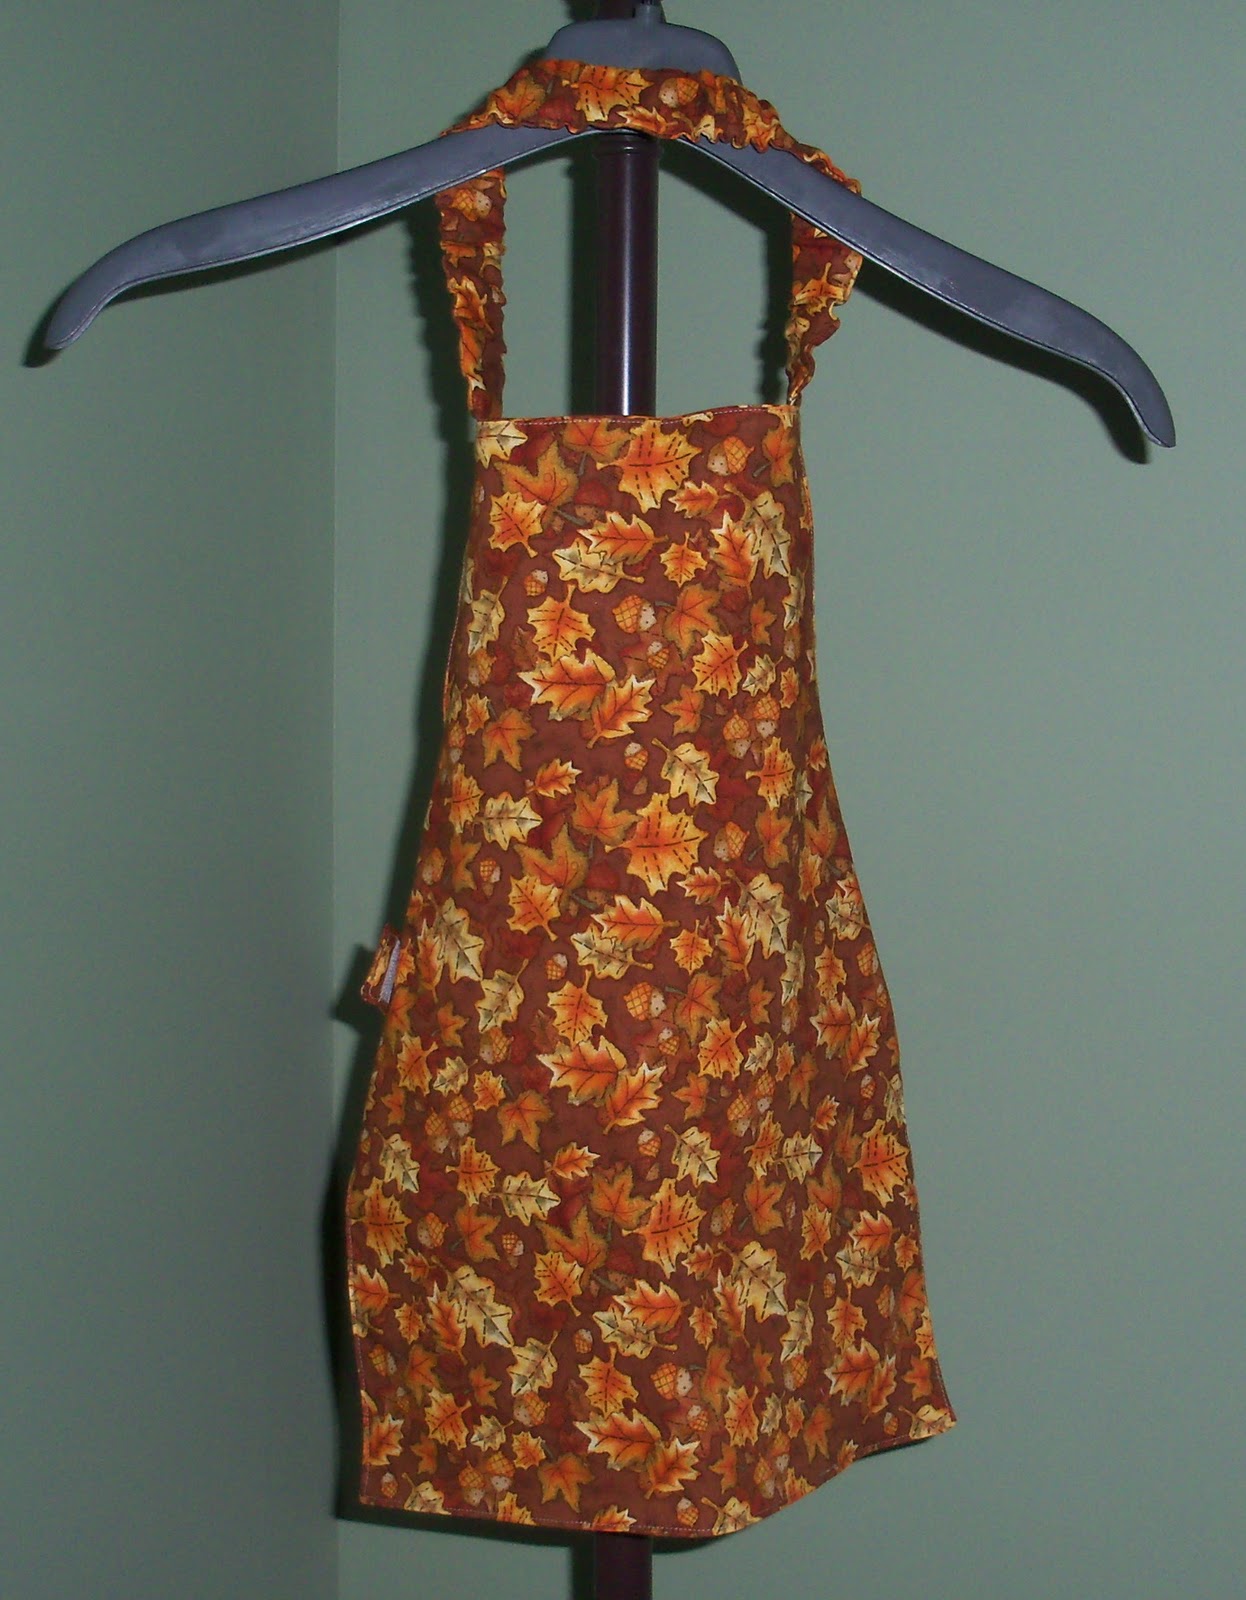
Braided rugs, also called scrap rugs, used to be made from worn out clothing and household linen scraps. It was a great way to recycle cloth! Today the rugs are still popular and can be quite expensive. But they are also a fun project to do yourself. You can, of course, use scrap linens, and create a colorful, unusual, completely unique rug. Or, as I will do, you can purchase fabrics of your choice to create a rug that suits your color preferences.

I am going to work on a rug designed to look nice in my kitchen, which has a new hickory hard-wood floor. (Thanks, hubby!!) After having lunch in a rustic, country-style restaurant yesterday, I came home full of ideas for making our kitchen area look more Adirondacky and country-ish. The restaurant had a lot of maroon and green and white. Loved the maroon, but wanted to add deep blue to the mix - my favorite. So. First things first.....

STEP ONE: Decided what you want your carpet to look like. You will be braiding with three fabric strips at a time. Do you want one color throughout? Two? Three? Two solids and one patterned? Are you going to change the colors, or combinations of colors, in the middle of the rug? Will one color dominate? Are you going to use scraps that you have? Think hard about this one. You don't want to get half-way through and change your mind. =)

STEP TWO: Decide what size you want your rug to be. Also, what shape. Will it be round? Or wider on two sides? This will determine, obviously, how much material you will need.

STEP THREE: Collect your supplies. You will need:

+Fabric. Now I am guessing here, because this is a first for me, too. But I am planning to make a 6' rug. I am going to buy 2/3 yard of each of my colors. My thinking is that 2/3 yard strips (24") would make a nice fabric strip length to work with. I'm going to start with this, anyhow, and come back and change this section if need be. Some folks know exactly what they want their project to look like finished. I am more of a figure it out as I go type (not always) so I will start with equal amounts of my colors, and go from there.

+A sewing machine. If you don't have a sewing machine, don't despair. We'll make it work!

+Heavy thread for sewing your ropes together

+A large sewing needle. I plan to use a metal yard needle

+Scissors

+Rotary cutter (not critical, but very helpful) and cutting mat

+Regular weight thread that matches your fabric choices

STEP FOUR: Prepare your fabric. Wash/dry. Cut on the length-wise grain into 2" strips. So mine will be approximately 2" x 24".

Here are my fabrics.


 For my practice rope, I used regular sewing shears, and guessed at the width. Very inconsistent. For the "real" strips I used my rotary cutter and cutting mat. The mat has measured marks, so I was able to be pretty precise. Much neater. If you're using heavier materials, thinner strips work well. Very thin = wider strips. My fabric is cotton woven. Next to my rotary cutter in the photo is a package of plastic needles I bought today, because I've misplaced my metal yarn needle. These should work fine.

2" mark.

 Nice neat strips.


I am anxious to start braiding, but it will be much easier to move along if I have a good collection of strips to work with. So I'm forcing myself to be patient, and get this done first.


STEP 5: Attach strips together, and begin braiding.


 Ok, I lied. I cut a few strips, and now I'm gonna braid! Oh well, I'll just cut more when I run out.

I have decided to use two of my three colors for the center of my rug. So I have stacked two blue strips and one red strip. I used my sewing machine to attach them together, by sewing a line across the top about 1/4' in. For those without a sewing machine, hand-sew with a strong thread.
 Here I am using my sewing machine to hold my strips firmly so I can braid without the strips twisting. You can also create a loop in the end to secure around a door knob, or chair leg, or anything that will hold the strips securely.
 As you are braiding, you will want to fold the fabric strips so that the edges don't show. Turn the raw edges into the middle (as I've shown) then fold in half. You will be doing this with the right side of the fabric facing up. I've just shown it upside down so you can see what I mean. It takes a little getting used to, but it's definitely worth the effort. I've read online that some people actually iron their strips this way before braiding. I'm not doing that, but maybe in the future, I'll give it a try.
 Here is my first strip, sides tucked in, and folded in half.
And we're off. Braid your strips until you are a few inches away from the ends. Don't braid too close to the end, as you will want a little room to work with when adding strips on.
 Here's my rope so far.


STEP 6: Attaching new strips.

 To add a new strip on, place the new strip on to the end of the strip that's finishing, RIGHT sides together, as shown. Place the new one at a right-angle. Read through this part before doing it, to be sure you have the new strip in the right place.
 You will be stitching (machine or hand) across both pieces so that it leaves a corner that can be cut off. Cut close to the stitching, but be cautious not to cut through it.
Open it up, and you have a nice continuation. It doesn't have to be beautiful. You will be braiding it in, and the stitching line won't show. Though I do recommend using thread that matches your fabric color, just in case.


Sunday, August 21, 2011

Rag Rug - Practice

 (Practice Rope. See 8/22/11 post for Scrap Rug Tutorial)

This isn't really a sewing project, but because I am using fabric scraps and I do have to hand-sew for this, I'm counting it! I'm going to try making a braided, or rag, rug. I had lunch today at a rustic, country-ish place, and it really got my creative juices flowing! I thought a rag rug would love fantastic with the new hickory hard-wood floor my husband just put in. I've never tried one before, so I'm going to try a practice rug. I love the idea of using fabric that I already have, so I went through it all and picked out all of the woven scraps I had. They are, of course, all different colors and patterns. But isn't that what people used to use long ago to make them? I'm going to randomly use the pieces, and see how it comes out. I'm very excited about this! My carpal tunnel syndrome will not like this - of that I am fairly certain. (Cutting, hand-sewing, braiding...) So this may be a one-time deal. But I'm gonna try it. So above is my scrap collection. I've got a box full of clothing that can be used for various projects, too. I'll dip into that when I need to.
Here is my rug so far! Behind the little braid is a small pile of fabric strips. Some suggest making a long rope, then sewing it into a rug. Others suggest making the rug as you go along. I think I will probably sew it as I go, but I'm not sure yet. I'll see what makes sense as I go along.

Ok, so after spending an hour and a half (while watching a movie....) I created a rope that is about 4 feet long. I have decided to call it my practice rope after my husband decided it would look nice in the basement! (lol) But seriously, there are some things I've learned that are pretty important if you want to make a nice rug. So today I will start on the "real" rug, and after getting a message last night from a friend asking for directions on this, I've decided to make this project a tutorial. =) I'll start a new post to keep things neat. (See ya there)

Saturday, August 6, 2011

Otto (sort of) Top With Reverse Applique

I'm sharing this one in two places; here and under "Fall Wardrobe." I wanted to share how I'm doing the reverse applique on this one. First of all, I cut the pieces using pattern #25 from Ottobre magazine Autumn 4/2011. The other top I showed under "Fall Wardrobe" is cut from the same pattern. I like how it came together. As with that one, I don't have the wherewithall to put binding on the neckline and cuffs, but I'll make my own self fabric neckband and cuffs. Because I've chosen a deep purple for the top and a pretty patterned fabric with purple and hearts for the appliques, I decided to make the shape of the applique hearts as well. I thought it might be cute to put some on the sleeves as well as on the front. So far I've done one sleeve. I love how it came out!

My pictures aren't coming out too well today, but here's how the sleeves will basically look. I steam-ironed it before taking the photo which made a little "halo" around the hearts, but that will go away.


Another lousy photo, but I wanted to share the cute fabric I'm using for the reverse appliques. The top fabric is quite thin, like a jersey, and the bottom is a heavier knit, so I have to be careful when I stitch them together that one doesn't bunch. Surprisingly enough it's the thicker fabric that wants to bunch, but only just a tiny bit at the end of my stitching, after I've gone all the way around the heart. Steam ironing has solved that problem so far.


Here I've attached the raglan sleeves to the front.


 Without a steam iron, it would be impossible to sew with this fabric. It is very thin, and very stretchy. Sewing it, even with a much lengthened stitch length, means you end up with a wobbly seam. Steam takes it right out. Without the steam you'd end up with one wonky finished product!
 Inside-out. Raglan seams are done, now I need to make a collar and some cuffs.

 Right-side out. I love how the appliques look.
 The collar. Man this gave me a hard time. First I cut one that was way too small. So glad I tried it on DD's neck before sewing it on! I made another one, much bigger, and sewed it on backwards. Not kidding. This sort of space-brain thing happens to me more often than I'd like to admit. Finally got it right. It's a little looser than I would prefer, but I'm keeping it. Darn it. =)
 All done. The hem gave me some trouble, too. I don't have a cover stitch machine (want! want!) so I do hems on my regular machine. I stitched the hem with the bottom up. I do this so that I don't miss any of the fabric underneath. But I realize that this is not what you're supposed to do. Usually I get away with it. This time I didn't. The bobbin thread looked wonky at best on the outside of the shirt. I restitched it with the top side up, close to the other line of stitching (like a twin needle would do) then picked out all the wonky stitching. I was going to restitch that line, but then decided not to.
 Modeling shots. =)
One of these days I should learn how to take better pictures. =)

She likes it, I like it, another fall item done!