Taggie Blankets are quick and easy to make, and make a great gift!
Supplies: 1/2 yard of cute fabric. If you want the front and back to have different patterns or colors (as I did on this one) buy two pieces.
Coordinating thread
3 or more types of ribbon. Use cloth ribbon, not craft ribbon. Varying widths and textures are fun. You will need a minimum of 3" of ribbon for each loop. I used 3 kinds of ribbon, so I had 12" of each.
Sewing machine

STEP 1: Lay out your fabric, iron it, and cut the size you want, plus about 1/2". I cut out 13 3/4" squares, and I had just enough of my monkey fabric to get that size.
Here's my coordinating piece. It should be the same as the other piece.
STEP 2: Lay the two main pieces RIGHT sides together. Measure each side and mark a small dot on the half-way point. Then measure the half-way point between that dot and each edge, and place a dot at those place. Do this for each side. You will be placing the ribbons at these points. (NOTE: I used 3 ribbons per side. If you choose to use more, place your dots accordingly...make sense?)
STEP 3: Cut 12 (or more) 3" pieces of ribbon. Fold each piece such that the pretty side is OUT. You will be placing the ribbons pieces INSIDE the square, such that the raw edges of the ribbons line up with the raw edges of the blanket. I have been putting the same type of ribbon at the same spot on each side, but you do what you like. Pin the ribbon pieces at each dot around the blanket.

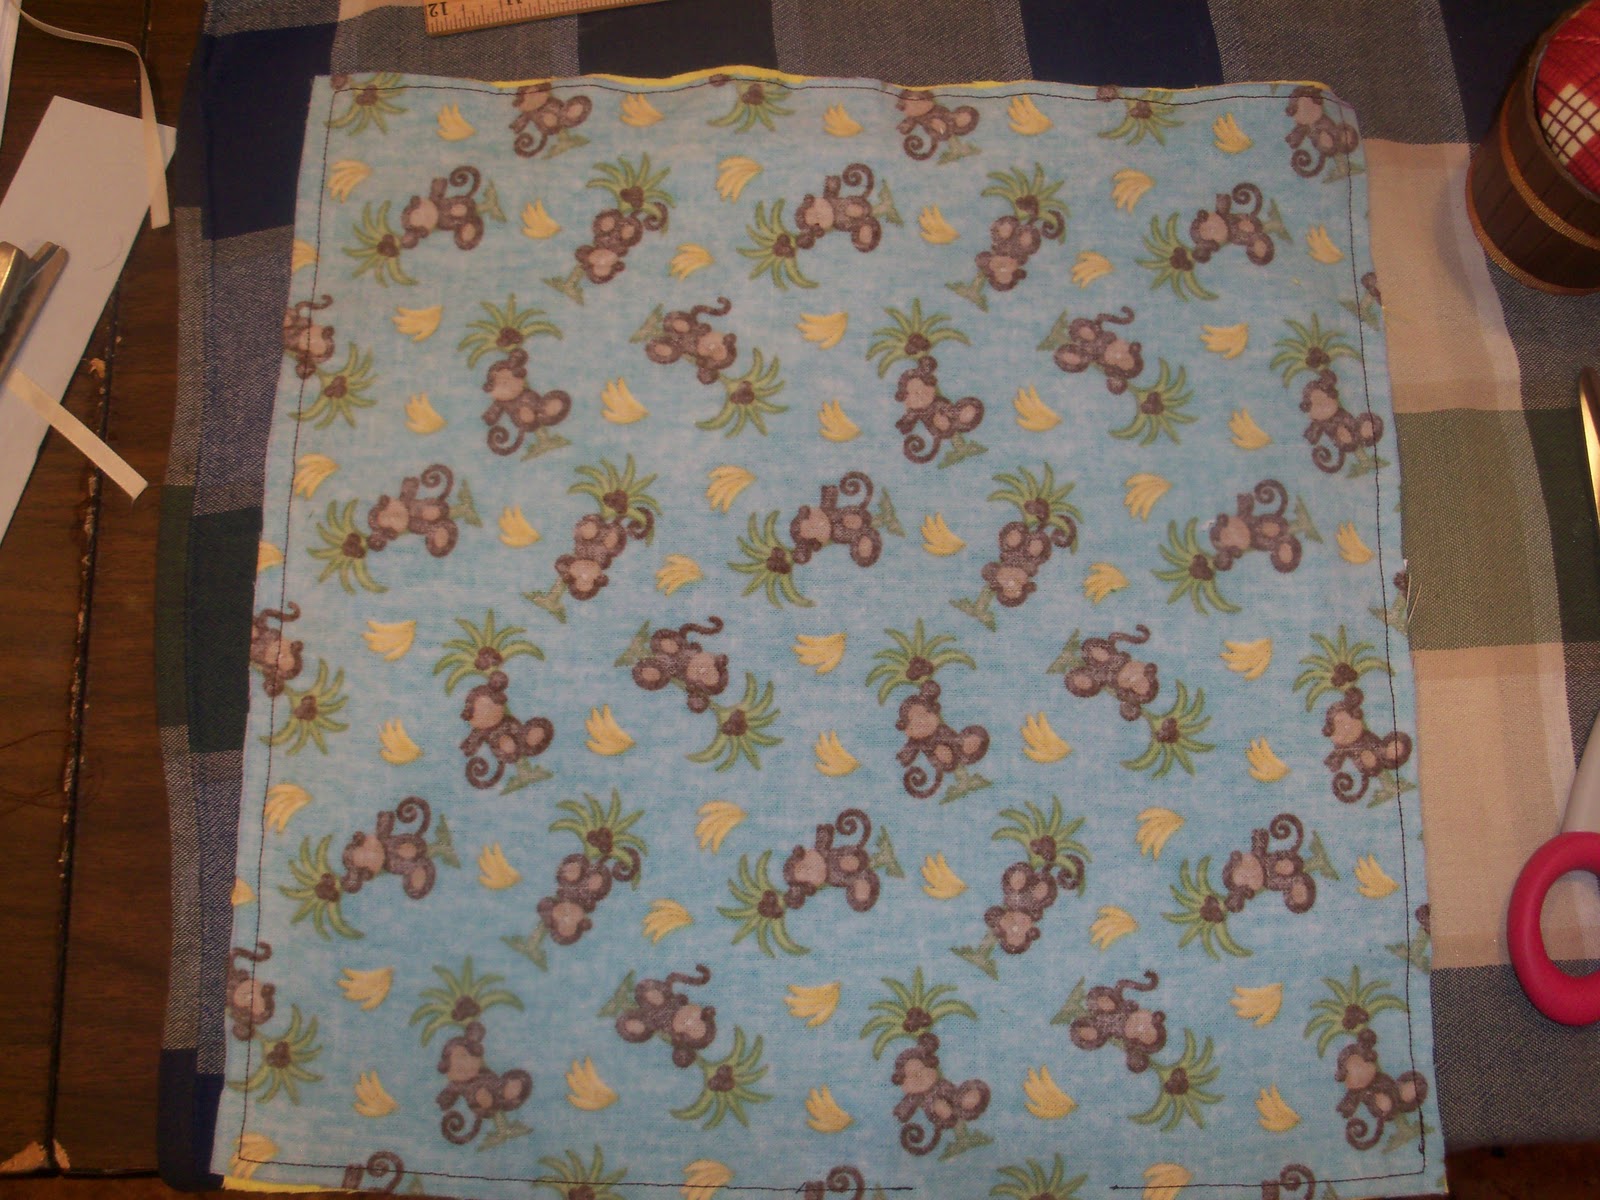
STEP 4: Here's the other side. Stitch around the edge using a 1/4" seam allowance. (You want to be sure to stitch the ribbon ends into this seam, so farther from the edge is ok, but closer is not. You could end up with escapees, which is a drag! But if you do stitch around, and there is a ribbon that has gotten away, just stitch it again, a little further down. Does that make sense?? Make sure to leave an opening to turn the blanket right side out. You'll need to leave the opening between ribbons. Just make sure the ribbons are stitched securely, and your hole isn't tooooo small. Mine are probably just over 2" wide usually. Now BEFORE you flip your blanket...
STEP 5: Clip the corners. They'll be neater when your turn the blanket right side out. Now.... turn it! (Fun part)
I would suggest pressing your blanket to straighten out the sides and corners. You will be stitching the turning hole closed, too, so make sure to press that the way you want it. On this blanket, I double stitched. You want those ribbons nice and secure, as it is likely to get washed and handled a lot. I stitched very close to the edge, then again about 1/4" in from the first stitching line.
Wrap it up! =)
Questions? Leave me a note and I'll get back to you asap. Feel free to share, just give a shout to my blog, eh? ;)

 STEP 1: Lay out your fabric, iron it, and cut the size you want, plus about 1/2". I cut out 13 3/4" squares, and I had just enough of my monkey fabric to get that size.